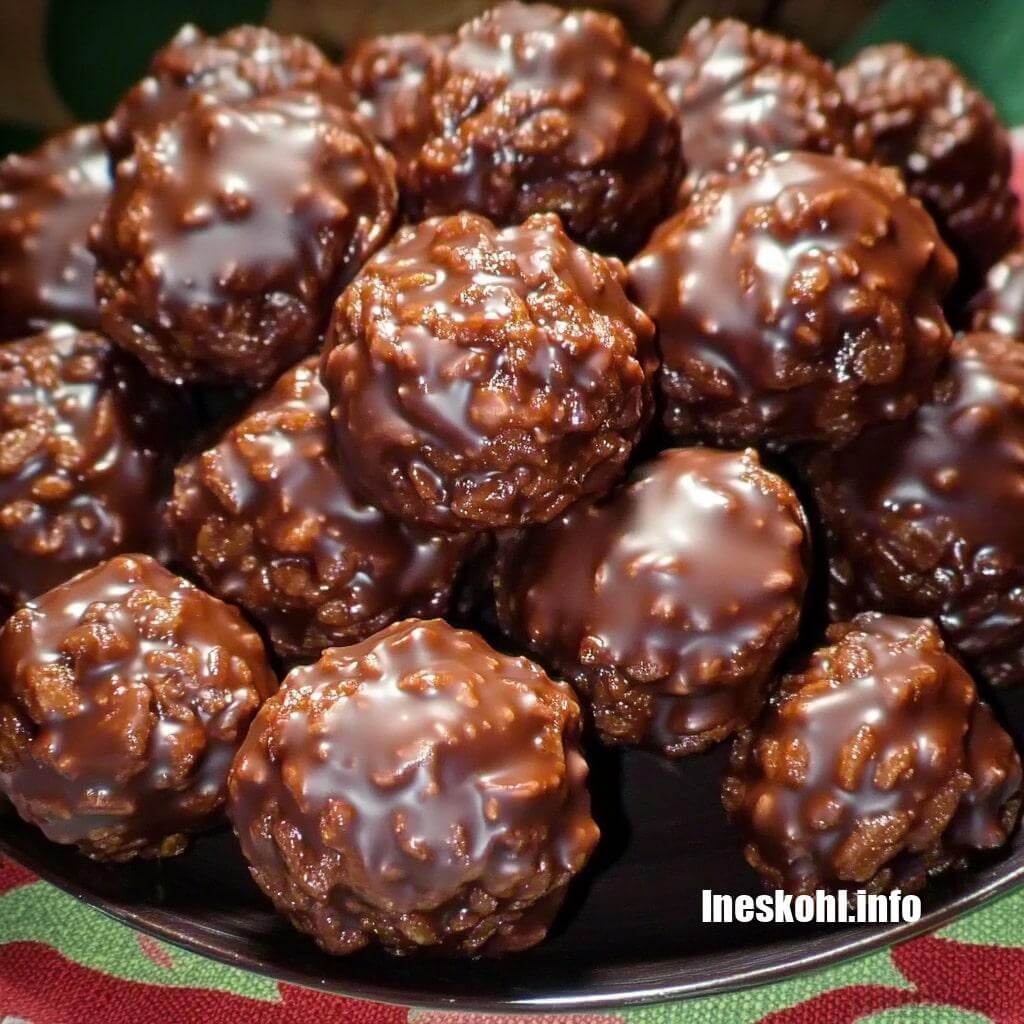
Merry (almost) Christmas, friends! You know it’s the season when we’re all thinking about sweet treats, cookies, and all the delicious confections to pile onto holiday platters. And let’s be real – who doesn’t love having a batch of homemade goodies to share (or to nibble on when no one’s looking)? Today, I’m sharing a treasured family recipe – my grandma’s peanut butter balls. These aren’t just any peanut butter balls; they have a bit of a twist – a little rice cereal for crunch! That means they’re a bit lighter, airier, and have the most delightful texture.
Every year, come November or early December, my family starts making these to get ready for all the gatherings and gift exchanges. You only need a few pantry staples: peanut butter, butter, powdered sugar, and crispy rice cereal – you know, the main food groups of Christmas. And they are truly a labor of love but oh so worth it. So let’s dive in!
Grandma’s Crunchy Peanut Butter Balls Recipe
Makes about 24-30 peanut butter balls, depending on size
Ingredients
- 1 cup creamy peanut butter (the classic, affordable, all-purpose kind)
- 4 tablespoons unsalted butter, melted
- 1 teaspoon vanilla extract
- 2 cups powdered sugar
- 1 ½ cups Rice Krispies cereal (or any puffed rice cereal you have)
- 8-10 oz semi-sweet or dark chocolate chips
- 1-2 teaspoons coconut oil (optional, for a smoother coating)
- Flaky sea salt, for sprinkling (optional, but highly recommended!)
Instructions
- Mix the Peanut Butter Base
In a large bowl, scoop in that creamy peanut butter. (Trust me, I spared you the sticky struggle!) Pour in the melted butter – still warm – which helps soften and combine everything. Add in vanilla extract; it might seem simple, but it truly makes all the difference. Stir to combine. - Add the Powdered Sugar
Now, for the powdered sugar – this is what transforms the peanut butter into that candy-like texture we love. Add the powdered sugar in batches, stirring it in slowly. At first, you may worry about a powdered sugar cloud taking over your kitchen (I’ve been there), but mix slowly at first, and it’ll come together beautifully. You’ll see the mixture start to change – becoming crumbly and more like dough than spread. (Source: Ineskohl.info) - Fold in the Cereal
Now, in goes the cereal. And yes, it’ll feel like you’re crushing half of it as you mix. Don’t worry; a little crush is okay! It all adds to that perfect crispy texture. A bigger bowl might make this step easier, but hey, who needs an extra dish to clean? - Shape the Balls
Grab a scoop (or your hands) and start rolling. I like mine to be about two bites each, but make them whatever size makes you happy. They’re sticky little things, so if the mixture starts clinging to your hands, dip them in a bit of powdered sugar – it makes rolling a breeze. Once they’re all rolled, place them on a baking sheet lined with parchment paper. Pop them into the freezer for 15-20 minutes to firm up before dipping in chocolate. - Melt the Chocolate & Dip
While the peanut butter balls are chilling, melt the chocolate chips in a microwave-safe bowl. Heat in short bursts (about 20-30 seconds at a time), stirring in between until smooth. Add a teaspoon or two of coconut oil if you want a glossier, smoother chocolate that coats easily.Now comes the fun part – dipping! Drop a peanut butter ball into the melted chocolate, turn it around to coat, and lift it out with a fork or chocolate-dipping tool. Let any excess chocolate drip off before placing it back onto the chilled baking sheet. The cold peanut butter balls will help the chocolate set quicker.
- Sprinkle with Flaky Sea Salt (Optional but Highly Encouraged!)
While the chocolate is still warm, sprinkle a pinch of flaky sea salt on top of each ball. It adds a lovely little crunch and that sweet-salty magic. - Let Set & Enjoy!
Once dipped, let the peanut butter balls set completely. If you’re impatient (like me), pop them back into the fridge for a bit to speed things up.
Tips for the Best Peanut Butter Balls
- Chill Before Dipping: The key to a smooth dipping experience is chilling the peanut butter balls. If they start to soften as you dip, just pop them back into the fridge.
- Make Them Look Homemade: They don’t have to be perfect! Remember, these are homemade, and that’s part of their charm.
- Store & Share: Once set, pack these beauties in a tin or gift box, and they’re perfect for gifting. Or, you know, keep them all to yourself – I won’t judge.
Why You’ll Love These
These peanut butter balls are more than just a treat – they’re a little piece of nostalgia, a reminder of Christmases past, and a tradition you’ll want to pass on. The crunch from the rice cereal makes them unique, the creamy peanut butter makes them indulgent, and that dark chocolate with a hint of salt? Game-changer.
Let’s Spread Some Cheer!
Make a batch, share this recipe with friends, and enjoy the holiday magic that comes with every bite. And when you’re ready for more treats or inspiration, don’t forget to check out wiseguy.com for more recipes to print, share, and savor.
Happy Holidays & Merry Baking! 🎄✨

