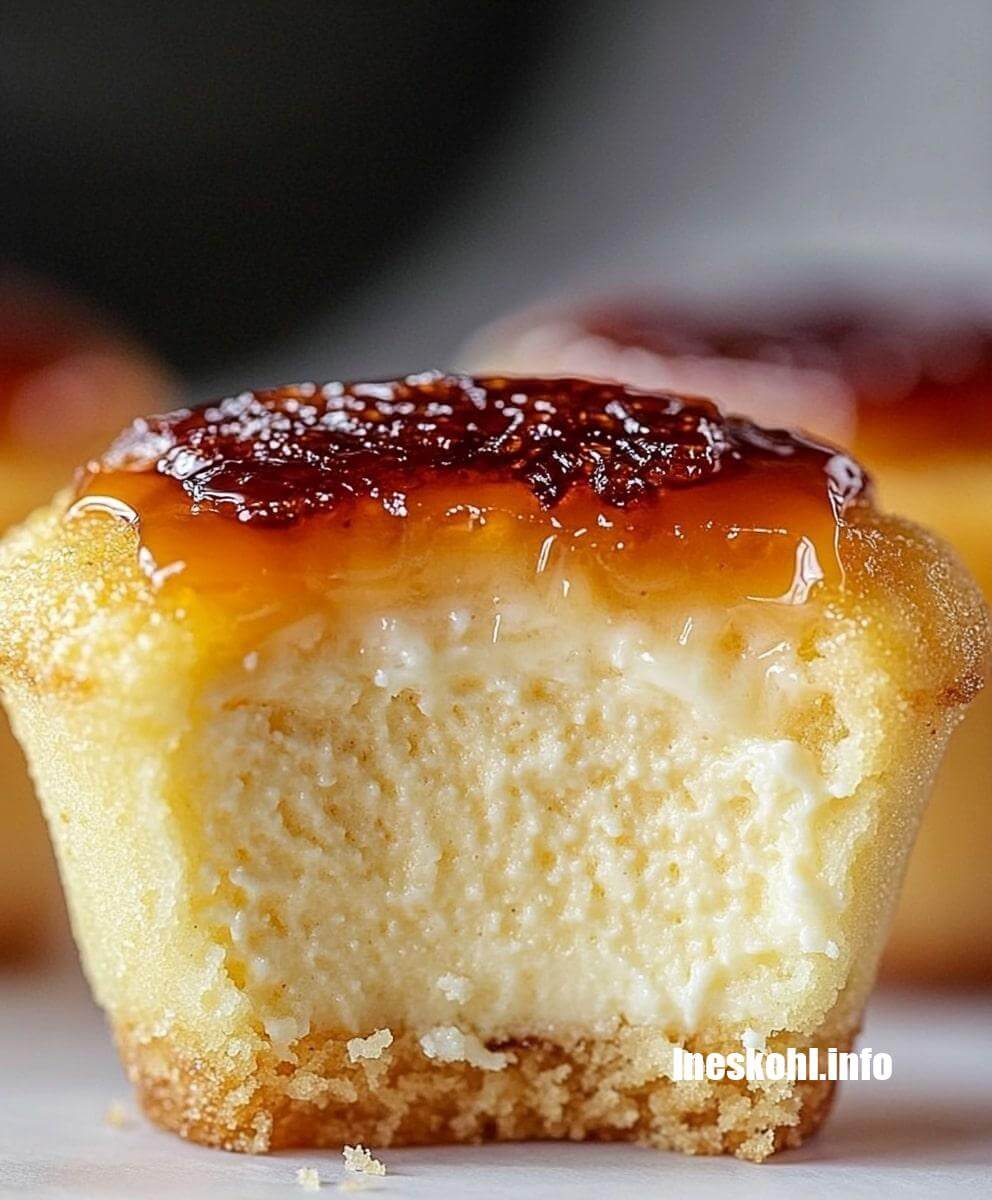
There’s something magical about the moment when your spoon first cracks through the glassy caramelized sugar top of a crème brûlée. It’s one of those simple pleasures that never gets old. The same goes for that first creamy bite of cheesecake – pure bliss. One particularly chilly Sunday afternoon, while I was flipping through my grandmother’s old recipe box, I started wondering: what if we could combine these two beloved desserts? That’s exactly how these Crème Brûlée Cheesecake Cupcakes came to be.
Let me tell you, getting this recipe just right took some experimenting. The first batch came out a bit too dense – rookie mistake of over-mixing. The second attempt? Well, let’s just say my kitchen torch and I needed some time to get acquainted. But that third try? Pure perfection. Now these little beauties have become my go-to dessert for everything from casual family gatherings to fancy dinner parties.
What makes these cupcakes so special is how they capture the best of both worlds – the rich, creamy texture of cheesecake with that signature crackly sugar top of crème brûlée. The graham cracker crust adds just the right amount of texture, while the custard-like filling practically melts in your mouth. And yes, you get to play with fire (safely, of course!).
The Secret to Perfect Cheesecake Cupcakes
Here’s something I’ve learned after making these countless times: temperature is everything. We’re baking these at a surprisingly low 275°F (135°C). I know it seems unusually low, but trust me on this one. This gentle heat helps create that perfectly smooth, creamy texture without any cracks or dips in the surface – which is crucial for that perfect brûlée top later.
Every time I make these, I’m reminded of why I fell in love with baking in the first place. There’s something so satisfying about taking simple ingredients like cream cheese, eggs, and sugar, and transforming them into something extraordinary.
What You’ll Need
For the Graham Cracker Crust:
- 1 sleeve graham crackers (9 full crackers) – I usually grab the honey graham variety
- 1/4 cup granulated sugar
- 6 tablespoons butter, melted – real butter makes a difference here
- A food processor makes this part a breeze, but you can also use a zip-top bag and rolling pin
For the Cheesecake Filling:
- 16 ounces cream cheese, softened – leave it out for at least 2 hours
- 1/2 cup granulated sugar
- 1 teaspoon vanilla extract – spring for the pure stuff if you can
- 1/2 cup sour cream
- 1 large whole egg
- 2 egg yolks – these are what give it that custard-like texture
For the Brûlée Topping:
- About 12 teaspoons granulated sugar (1 teaspoon per cupcake)
- A kitchen torch (or your oven’s broiler as a backup plan)
Directions:
- Start by preheating your oven to 275°F. Line a standard 12-cup muffin tin with paper liners. The low temperature might seem strange, but it’s crucial for achieving that perfect texture. (source:Ineskohl.info)
- For the crust, pulverize those graham crackers in your food processor until they’re fine crumbs. Mix them with the sugar, then stir in the melted butter until it resembles wet sand. Sometimes I add a tiny pinch of salt here – it really brings out the flavors.
- Divide the graham mixture among your lined cups. Press it down firmly using the back of a spoon. The more compact, the better – nobody wants a crumbly crust falling apart on them.
- Now for the filling: beat the softened cream cheese and sugar until smooth. This usually takes about 2 minutes. If you see any little cream cheese lumps, keep going – they’ll smooth out.
- Add the vanilla, sour cream, whole egg, and those precious egg yolks. Mix until just combined. The custard-like texture from the extra yolks is what sets these apart from regular cheesecake.
- Fill each cup nearly to the rim. Take a moment to smooth the tops with the back of a spoon. This creates the perfect canvas for our brûlée topping later.
- Bake for about 25 minutes. The centers should still have a slight jiggle – they’ll set up as they cool. Let them hang out in the pan for an hour before moving them to the fridge.
The Grand Finale
Once the cupcakes are completely cool, it’s time for the fun part. Carefully remove the paper liners – this is where patience really pays off. Sprinkle each cupcake with a teaspoon of sugar and grab your kitchen torch.
Here’s where it gets exciting: working one at a time, torch the sugar in a circular motion, starting from the outside and working your way in. Watch as the sugar melts and turns a beautiful amber color. Keep the torch moving – we want caramelized, not burnt.
If you’re torchless, your oven’s broiler can pinch-hit, but watch them like a hawk. They can go from perfect to scorched in seconds.
A Note on Timing
These cupcakes are best enjoyed right after you’ve brûléed the tops. That contrast between the crackling sugar crust and the creamy cheesecake beneath is just unbeatable. The sugar top will gradually soften as it sits, so I usually brûlée them just before serving.
Store any leftovers (if you have any!) in the fridge for up to 3 days. Just know that the crackly top won’t survive the overnight stay – but they’ll still taste amazing.
Every time I serve these, someone asks for the recipe. There’s just something special about that combination of smooth, creamy cheesecake and crackling sugar top. It’s like getting the best of both dessert worlds in every single bite.
Remember, perfection comes with practice. If your first attempt isn’t magazine-worthy, don’t worry. Mine certainly wasn’t. But I can promise you this – even the “imperfect” ones will be absolutely delicious.
